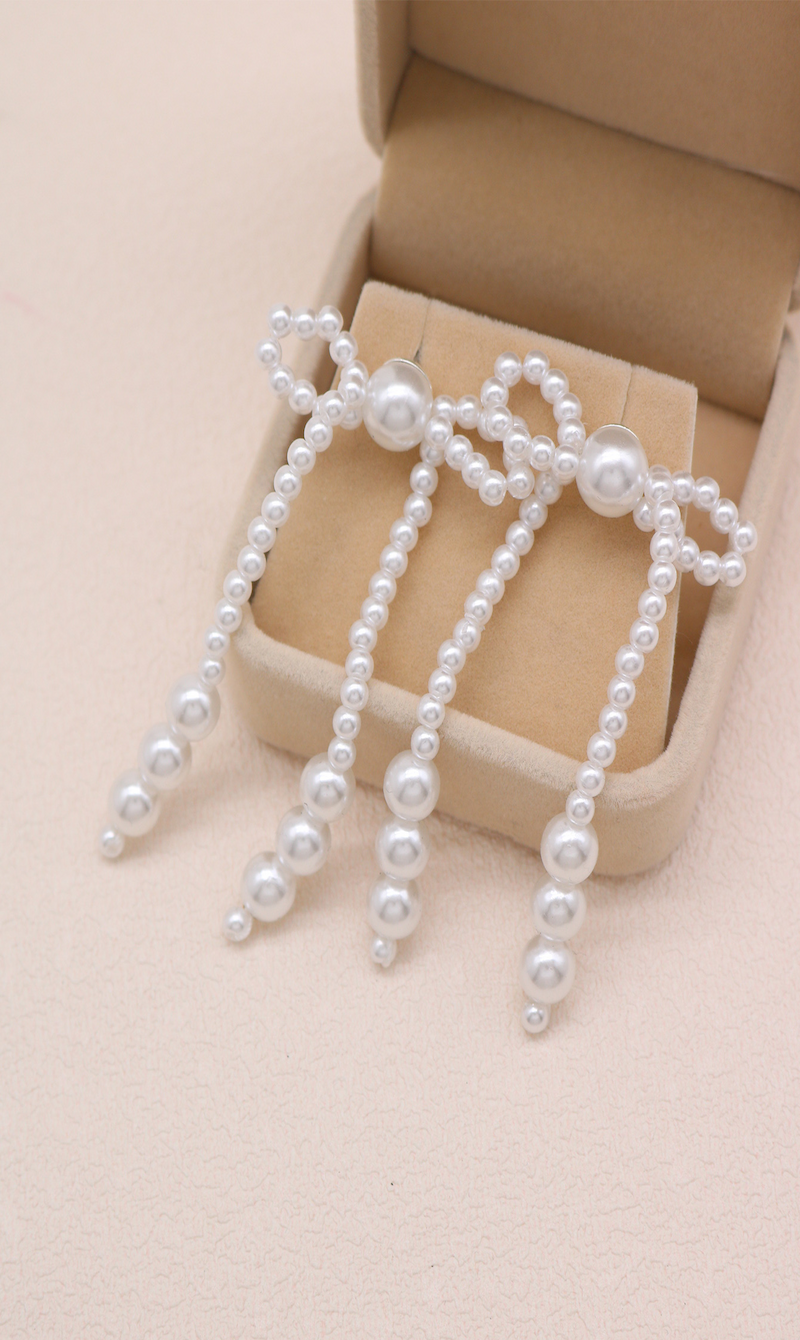
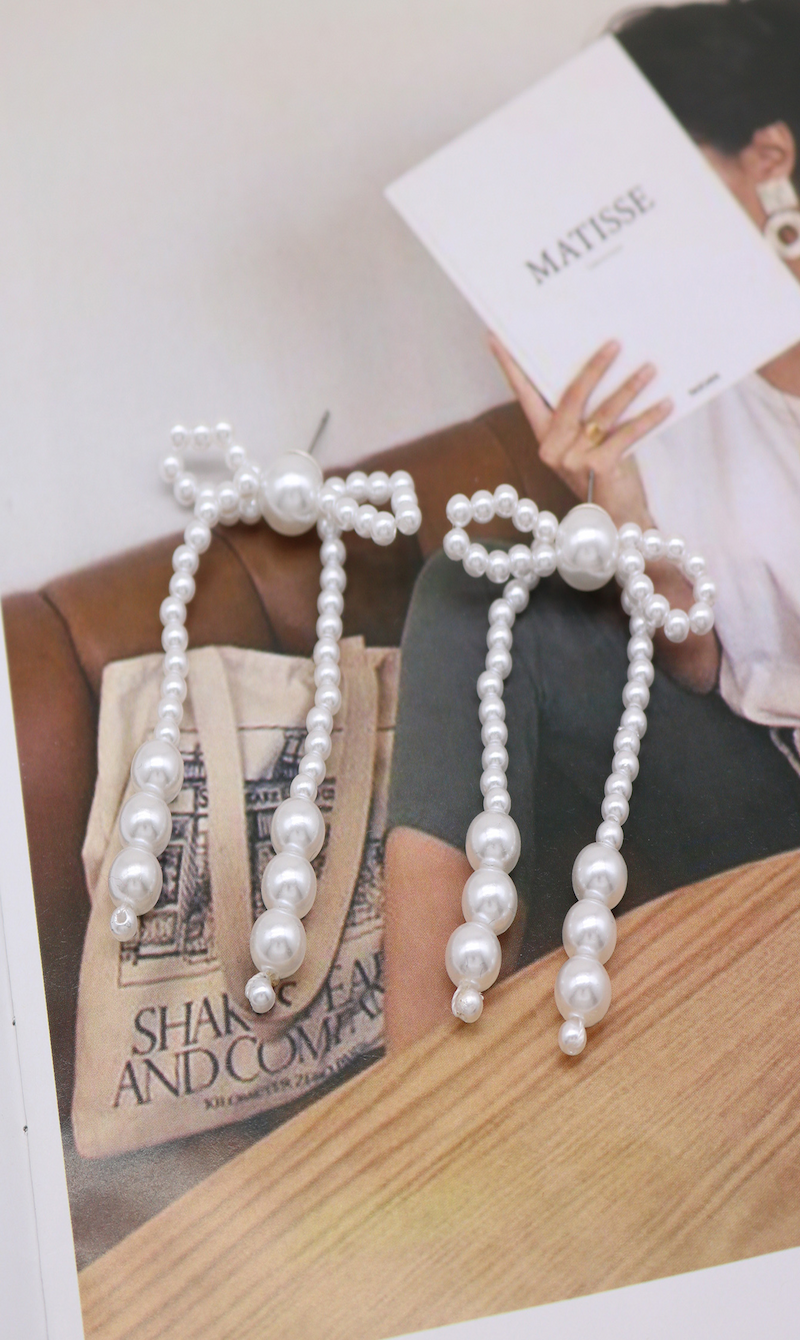
Custom earrings are more than just accessories; they’re tiny pieces of art that let you showcase your personality. Whether you’re a jewelry-making pro or someone who’s never touched a pair of pliers, crafting your own earrings is a fun and fulfilling way to spend an afternoon. Trust me, there’s something magical about wearing something you made yourself. In this guide, I’ll walk you through the process of creating custom earrings, from gathering materials to putting the finishing touches on your designs. I’ll even throw in a handy data table to help you budget and keep track of your supplies. Let’s dive in!
What You’ll Need to Get Started
First things first: gather your materials. Here’s a rundown of the basics you’ll need to make your earrings shine:
Earring Hooks or Studs: These are the foundation of your earrings. You can go for classic fishhooks, sleek lever backs, or minimalist studs—it’s totally up to you.
Beads: The fun part! Beads come in all shapes, sizes, and materials—glass, wood, metal, you name it. Pick ones that speak to you.
Wire: This is your bread and butter for stringing beads or creating loops. Sterling silver, gold-filled, or copper wire are all great options.
Pliers: A good set of pliers is a must. Round-nose pliers, flat-nose pliers, and wire cutters will be your best friends.
Jump Rings: These little metal rings are lifesavers for connecting charms or other elements.
Earring Backs: Optional, but they’re great for keeping your earrings secure, especially if you’re using heavier materials.
Adhesives: If you’re working with non-metal pieces, a strong glue like E6000 will come in handy.
Decorative Elements: Charms, pendants, or anything else that catches your eye. This is where your creativity really gets to shine.
Budget Breakdown: Materials and Costs
Here’s a quick table to help you plan your spending. Don’t worry—you don’t need to break the bank to make something beautiful.
Material | Quantity | Cost per Unit | Total Cost |
Earring Hooks | 10 | $0.50 | $5.00 |
Beads (Glass) | 20 | $0.10 | $2.00 |
Wire (Sterling Silver) | 1 spool | $10.00 | $10.00 |
Pliers (Set) | 1 | $15.00 | $15.00 |
Jump Rings | 20 | $0.05 | $1.00 |
Earring Backs | 10 | $0.20 | $2.00 |
Adhesive (E6000) | 1 tube | $5.00 | $5.00 |
Charms | 5 | $1.00 | $5.00 |
Total | $45.00 |
Let’s Get Crafting: Step-by-Step Guide
Step 1: Dream Up Your Design
Before you start, take a moment to sketch out your ideas. What colors do you want? What shapes or themes inspire you? I like to keep a little notebook of ideas—sometimes the best designs come when you’re not even trying.
Step 2: Gather Your Supplies
Lay everything out on a clean surface. If you’re using beads, sort them by color or size. Trust me, it’ll save you time later.
Step 3: Cut the Wire
Grab your wire cutters and snip a piece of wire about 2-3 inches long. This length usually works for most designs, but feel free to adjust based on your vision.
Step 4: String Those Beads
If your design includes beads, start threading them onto the wire. Leave a little space at the end so you can create a loop later. I always double-check the order of the beads before moving on—nothing’s worse than realizing you’ve mixed up the pattern halfway through.
Step 5: Make a Loop
Once your beads are in place, use your round-nose pliers to create a small loop at the end of the wire. This loop will attach to the earring hook. Make sure it’s tight and secure—no one wants a loose earring!
Step 6: Attach the Hook
Open the loop slightly, slide on the earring hook, and close it back up. Repeat for the second earring. Easy, right?
Step 7: Add Some Flair
If you’re using charms or other decorations, now’s the time to add them. Use jump rings to attach them to the hooks or beads. Pro tip: always twist jump rings open instead of pulling them apart—it keeps them from losing their shape.
Step 8: Secure the Backs
If you’re using earring backs, slide them onto the hooks. This step is especially helpful if your earrings are on the heavier side.
Step 9: Inspect and Adjust
Take a good look at your earrings. Do they hang evenly? Are all the pieces secure? Make any tweaks needed to get them just right.
Step 10: Rock Your Creations
And there you have it—your very own custom earrings! Wear them with pride or gift them to someone special. Either way, you’ve made something unique.
A Few Ideas to Spark Your Creativity
Need some inspiration? Here are a few designs to try:
1. Simple Beaded Earrings
Materials: Earring hooks, glass beads, sterling silver wire.
How-To: String 3-5 beads onto the wire, create a loop, and attach the hook. Perfect for a minimalist look.
2. Charm Earrings
Materials: Earring hooks, jump rings, charms, beads.
How-To: Attach a charm to a jump ring and connect it to the hook. Add beads for extra pizzazz. These are great for adding a personal touch.
3. Wire-Wrapped Earrings
Materials: Earring hooks, sterling silver wire, gemstone beads.
How-To: Wrap the wire around a gemstone bead in a decorative pattern, then attach it to the hook. These are a bit more advanced but totally worth the effort.
Tips from My Own Experience
Start Small: If you’re new to this, keep your first designs simple. You can always level up as you get more comfortable.
Mix and Match: Don’t be afraid to experiment with different materials. I once made earrings with fabric scraps, and they turned out surprisingly cool.
Stay Organized: Keep your workspace tidy. Losing a tiny bead in a sea of supplies is the worst.
Be Patient: Your first pair might not be perfect, and that’s okay. Practice really does make perfect.
Final Thoughts
Making custom earrings is one of those hobbies that’s equal parts relaxing and rewarding. It’s a chance to slow down, get creative, and end up with something you can wear or share. Plus, there’s nothing quite like the feeling of someone complimenting your earrings and being able to say, “Thanks, I made them myself!”
So, grab your supplies, let your imagination run wild, and start creating. Who knows? You might just discover a hidden talent for jewelry design. Happy crafting!

